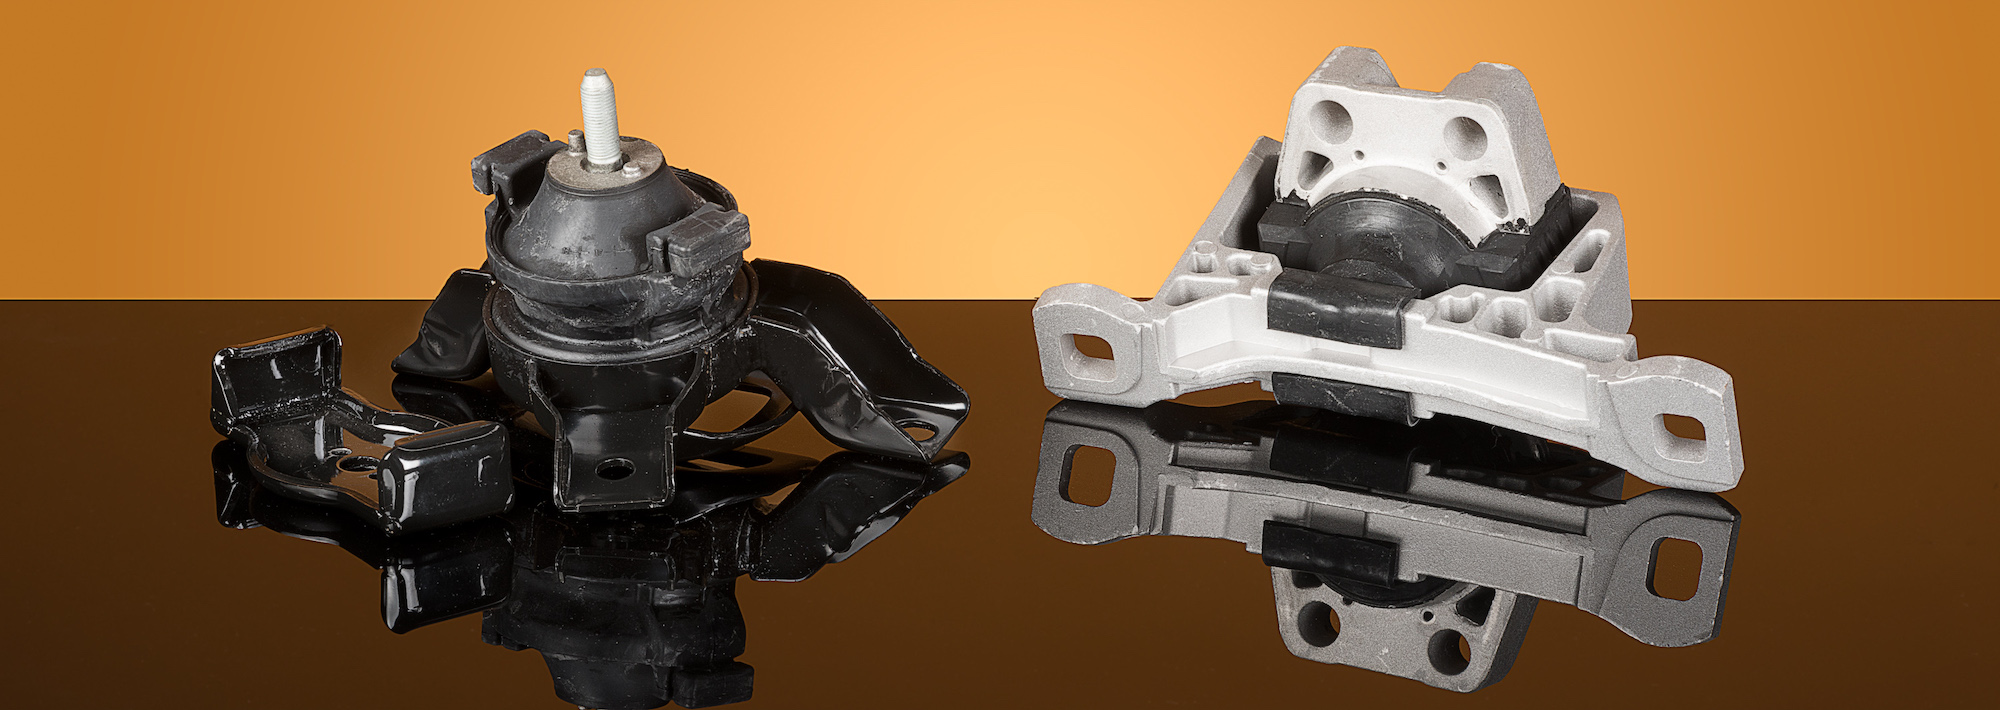
A properly functioning marine engine depends not just on the engine itself but also on the components that support it—especially the engine mount. These mounts secure the engine to the boat’s frame, reduce vibration, and ensure proper alignment of the drivetrain. Over time, they can wear out or become damaged, leading to performance issues, noise, and even costly repairs. Regular inspection of your marine engine mounts is essential to maintain safety, performance, and comfort aboard your vessel.
Marine environments are harsh, and components like engine mounts are constantly exposed to vibration, temperature fluctuations, saltwater corrosion, and mechanical stress. This makes them vulnerable to degradation over time. To source reliable replacements, engine mount options from trusted marine parts suppliers can help you maintain engine alignment and vibration control. But before replacing, knowing how to inspect mounts properly is just as important.
This step-by-step guide outlines how to inspect your engine mounts effectively, even if you’re a boat owner without extensive mechanical experience.
Step 1: Understand the Purpose of Engine Mounts
Before diving into the inspection process, it’s essential to understand what the engine mounts do. In marine engines, mounts not only hold the engine securely in place but also absorb and isolate vibration. They also help maintain precise alignment between the engine and the propeller shaft. If the mounts fail, engine movement may increase, leading to excessive vibration, misalignment, and accelerated wear on the drivetrain components.
Step 2: Gather the Necessary Tools
You’ll need the following items to perform a proper inspection:
- Flashlight or work light
- Mirror on a telescoping handle (for hard-to-reach areas)
- Socket set or wrench
- Pry bar or flathead screwdriver
- Notebook or phone for taking notes and photos
Before beginning, ensure the engine is off, and the boat is safely moored or on land.
Step 3: Conduct a Visual Inspection
Start with a basic visual inspection. Use a flashlight to examine each engine mount carefully. Check for:
- Cracks or splits in the rubber element
- Corrosion or rust on metal components
- Signs of oil contamination, which can degrade rubber
- Compression or sagging of the mount, which may affect alignment
- Visible shifting of the engine from its original position
Use the mirror to view hard-to-see areas under and around the mounts.
Step 4: Check for Loose or Broken Fasteners
Ensure that the bolts securing the mounts to the engine and hull are tight. Loose or broken bolts can cause excessive movement and lead to premature mount failure. Using a wrench, carefully check the tightness of each bolt. If any bolts are loose, tighten them according to the manufacturer’s torque specifications. If bolts are broken or severely rusted, they should be replaced immediately.
Step 5: Examine Engine Alignment
Misalignment can be both a symptom and a cause of engine mount issues. A misaligned engine will often place uneven stress on the mounts, accelerating wear. To check alignment, use a feeler gauge to assess the coupling between the engine and the shaft. The clearance should be uniform all around. Uneven gaps may indicate that the mounts are no longer maintaining proper positioning.
Step 6: Gently Pry the Engine
Using a pry bar or flathead screwdriver, carefully apply gentle pressure near each mount. The engine should move very slightly, and the mount should offer consistent resistance. If you notice excessive engine movement or feel the mount shift easily, the rubber may be deteriorated or the internal components may be damaged.
Step 7: Monitor for Vibrations During Operation
Start the engine and allow it to run at idle. Listen and feel for unusual vibration or noise. Excessive vibration is one of the most common signs that a mount is worn or failing. Be sure to compare how the engine sounds and feels at different RPM levels, as failing mounts often become more noticeable under load or during throttle changes.
Step 8: Keep a Maintenance Record
After your inspection, record any signs of wear, misalignment, or vibration issues. Keeping detailed records will help track changes over time and schedule proactive replacements before a failure occurs. If any issues are identified, replace the affected mounts promptly to avoid damage to other engine components.
Final Thoughts
Inspecting your engine mount regularly is a critical part of marine engine maintenance. Mounts may not be the most glamorous components on your boat, but they play a vital role in stability, alignment, and smooth operation. Performing these inspections every season—or after rough operating conditions—can save you from expensive repairs and ensure safer boating.
By combining proper inspection with quality components, you can maintain optimal engine performance and enjoy a smoother, quieter ride. When it’s time for a replacement, choose mounts specifically designed for marine environments to ensure reliability and longevity.