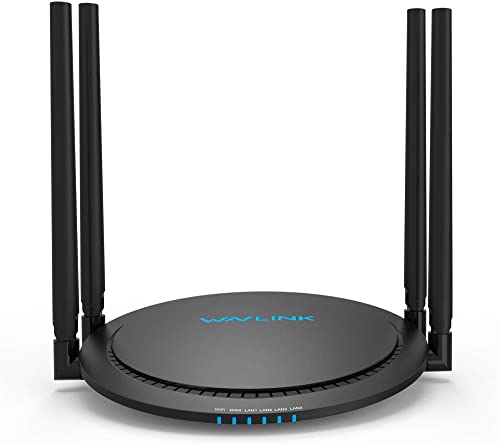
Fixing Tips For The Wavlink WiFi Router
Do you have any trouble connecting to the Wavlink WiFi when using your Wavlink setup? Does your Wavlink router not working properly? You can try several troubleshooting methods if your Wavlink router is having any issues.
A Wavlink Router Restart
You must first restart your router to fix the red light problem. The router’s red light starts to flicker when it encounters faults. Due to how frequently it occurs when we connect our devices to Wavlink routers, this is the most common problem. Therefore, we suggest that you first restart your router. After powering on, give your router a few seconds to control the red light. There are no issues with the operation of the internet if it is stable.
Continue with the later stage if there is difficulty, although.
Examine Each Cable Connection
Even though most individuals are not aware of them, the cables are the root of the red light issue. When this issue first appears, all of the cables could sustain damage. The next step is to check the wiring and replace any broken cables with new ones. Additionally, make sure all wires are tightly connected to the appropriate ports since weak connections might create red difficulties and slow internet. Use the best wire available in the new cables you use to replace broken ones.
Firmware Update Of The Router
If the firmware is not updated, the router will have trouble with the red light. The majority of Wavlink router designs include the Wavlink router option. Follow close attention to these instructions to discover how to upgrade the router’s software.
- Start by utilizing an Ethernet wire to connect your router to the PC.
- WiFi.Wavlink.com installs the updated software from the official website.
- Now go to the web control page for the router.
- On the login page, click install the firmware to update the router’s software.
- Restart your router to complete this upgrade.
Ensure Router And Modem Connection
The red light on your Wavlink router flashes when your modem connects. If your modem’s red light is blinking, your network connection isn’t working properly. Now let’s briefly go over how the modem and router are related.
- A modem connects to every coaxial jack on your wall.
- Routers are necessary for setting up WiFi networks.
Check All Ethernet Port LEDs
If, after you purchase your modem online, the router’s LED light begins to blink red. When you look at the modem’s back, you can see an Ethernet cable that connects to it. Install it correctly and plug the plug into the modem’s orange ethernet port as well as the yellow and orange ethernet ports on the router. You must inspect both the yellow and white ethernet ports to determine whether the wire is operating as it should. This makes data transmission via an Ethernet wire simple.
Factory Reset Of Your Device
There is a factory reset button on the back of the Wavlink router. You can choose not to complete the factory reset if you are not aware of it and are once again confident in your WiFi settings. Although it is not simple, the process is not too complicated.
Find an admin panel, input the password, and then reconnect your device are the first three steps. It’s a pretty well-defined technique that fixes the Wavlink router red light issue. In older routers, viruses are the primary culprit. Sometimes a simple restarting procedure is insufficient to resolve the problem.
Note: After the reset, a Wavlink router setup will require. You can follow the steps even if you don’t understand the configuring process well enough.
Setup Steps Of Your Wavlink WiFi
- To begin with, installing software is a simple procedure.
- Here, a power supply must connect to the router.
- Now, using the included ethernet cable, connect the router’s WAN port to the ISP socket.
- Turning on the router will start the configuration process.
- The logo and the little buttons on the front now flash blue as soon as the switch turns to the “ON” position.
- You should use one of your laptops, iPhones, or iPads to sign up for the wireless network.
- Before doing anything else, open a browser and type WiFi.Wavlink.com into the address bar.
- Because this is the first time your router has booted up, it will ask for a “Default” password. So enter “admin” in the text field.
- Whether or not your router connects to the internet service offered by your ISP can see visibly on the interface.
- Additionally, it displays download and upload speeds as well as the total number of connected devices.
- Going to the “Internet” panel will reveal the connection type. Both the WiFi name and the connection state will be blank. So choose a name for your WiFi that suits you.
- Under the ‘LAN’ option, your ISP has assigned all of the router’s default IP addresses.
- You may now define the names of your 2.4GHz and 5GHz Wi-Fi networks as well as their passwords by selecting the “Wireless” option.
- Finally, by using the “Bandwidth Control” option, you can limit the download and upload rates of the devices connected to your network. allowing you to take the upper hand using the speed at your disposal.
To Conclude…
You will learn how to set up and fix the Wavlink router in this article. After reading this post, we hope that your setup problem will resolve or that you will feel as joyful as a clown.
Author Bio
I am a professional writer at freelance web developer dubai. I’m researching and writing about innovation, Entertainment, technology, business, and the latest digital marketing trends click here to go website